

Introduction: Why the Gateway of India is a Photographer’s Dream
The Gateway of India, standing tall at Mumbai’s waterfront, has long been a favorite subject for photographers worldwide. Built during the British Raj in 1924, the monument combines Indo-Saracenic architecture with breathtaking coastal views, making it a compelling canvas for creativity. What sets the Gateway apart is how dramatically its appearance changes throughout the day. At dawn, when the first rays of sunlight strike its basalt structure, the arch glows warmly, surrounded by calm waters and minimal human activity. By dusk, the monument transforms once more, silhouetted against fiery skies and bustling evening crowds.
For photographers, these two time windows—sunrise and sunset—offer the most enchanting opportunities to capture shots that blend architecture, light, and local life. Whether you’re seeking a postcard-perfect frame or an artistic interpretation, understanding the timing, gear, and techniques is essential. This blog serves as a comprehensive guide, helping both beginners and seasoned photographers elevate their work. From choosing the right gear to scouting the best spots, you’ll discover actionable insights to make your Gateway of India photos unforgettable.
Best Time for Gateway of India Photography
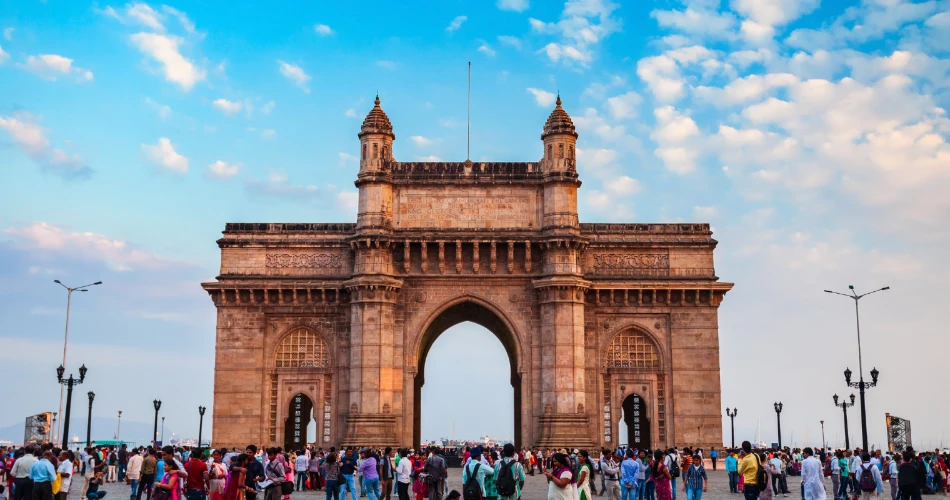
The most critical factor in photographing the Gateway of India is timing. The monument looks spectacular under soft natural light, which is best during dawn (5:45 AM – 7:00 AM) and dusk (5:30 PM – 7:00 PM). At dawn, the site is peaceful, the air is cooler, and the crowds are sparse, allowing clean, uncluttered shots. The first rays of sunlight cast a golden glow across the arch and the surrounding waters, creating a naturally warm palette perfect for wide-angle captures.
At dusk, the scene changes dramatically. The monument stands silhouetted against vivid skies painted in hues of orange, pink, and violet. The Arabian Sea reflects the colors of the sunset, adding a second layer of vibrance to your composition. While the evening attracts larger crowds, this can be an advantage if you want to add a sense of scale and local culture to your shots.
Season also influences photography. Winter brings clear skies ideal for crisp shots, while the monsoon season adds moody, dramatic clouds. Always check sunrise and sunset times before heading out, and arrive at least 20 minutes early to set up and secure your spot.
Essential Photography Gear for Stunning Shots
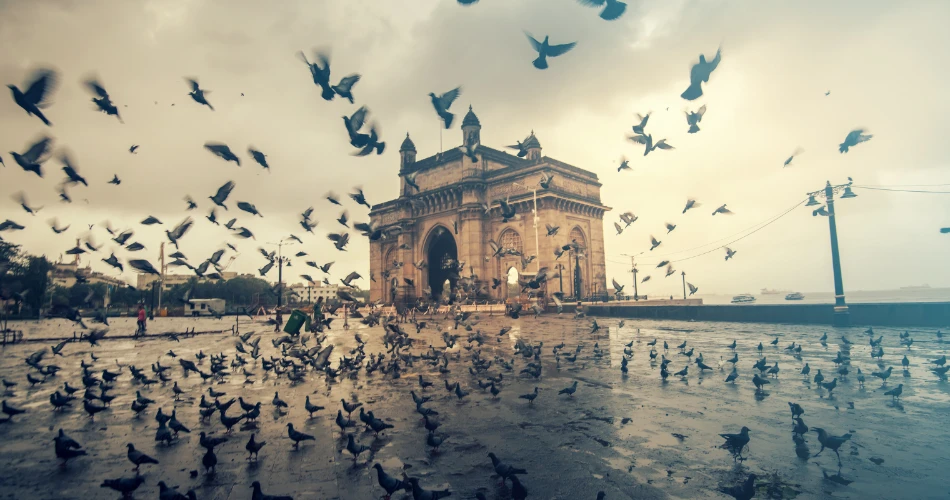
While timing is crucial, having the right gear ensures you make the most of your opportunity. A DSLR or mirrorless camera with interchangeable lenses is recommended. A wide-angle lens (16–35mm) is excellent for capturing the monument in its entirety, while a 50mm or 85mm prime lens is perfect for close-ups of architectural details or candid portraits around the area. For dusk and low-light conditions, a sturdy tripod is indispensable, allowing you to shoot longer exposures without motion blur.
Filters also play an important role. A polarizing filter reduces glare from the sea and enhances sky colors, while ND filters allow creative long-exposure shots of water and clouds at sunrise. If you’re aiming for unique perspectives, a drone can capture aerial views, but always verify local regulations as drone usage is restricted in parts of Mumbai.
Don’t overlook small but important accessories such as lens cleaning cloths, extra batteries, and memory cards. Since Mumbai’s humidity can fog up lenses, silica gel packs in your camera bag are helpful. By carrying the right gear, you’ll not only be prepared for varied lighting but also able to experiment with creative techniques to make your Gateway of India shots truly stand out.
Composing the Perfect Shot
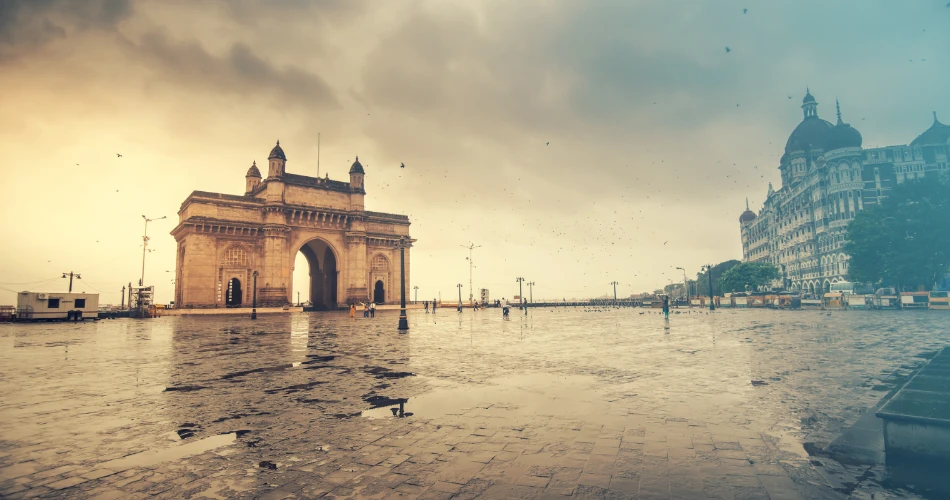
Composition is the heart of photography, and at the Gateway of India, you’re spoiled with options. At dawn, position yourself along the waterfront to use the Arabian Sea as a reflective element, mirroring the arch and sky. Symmetry works beautifully here, especially when shooting directly in front of the monument, but don’t hesitate to break the rule for dynamic frames. Using leading lines from pavements or boats can guide the viewer’s eyes toward the Gateway.
At dusk, silhouettes add drama. Position the monument against the colorful backdrop of the setting sun and experiment with low angles to emphasize its grandeur. Including the Taj Mahal Palace Hotel in your frame adds architectural contrast, while capturing the boats anchored nearby introduces depth and cultural context. You can also try framing the monument through natural elements like tree branches or foregrounding with pigeons for a storytelling touch.
Remember to think about balance. Avoid overcrowding your frame with too many subjects. A minimalistic approach—highlighting just the monument and the sky—can sometimes be more powerful. Practicing different angles, perspectives, and framing methods ensures you return home with a diverse set of compositions.
Capturing Local Life Around the Monument
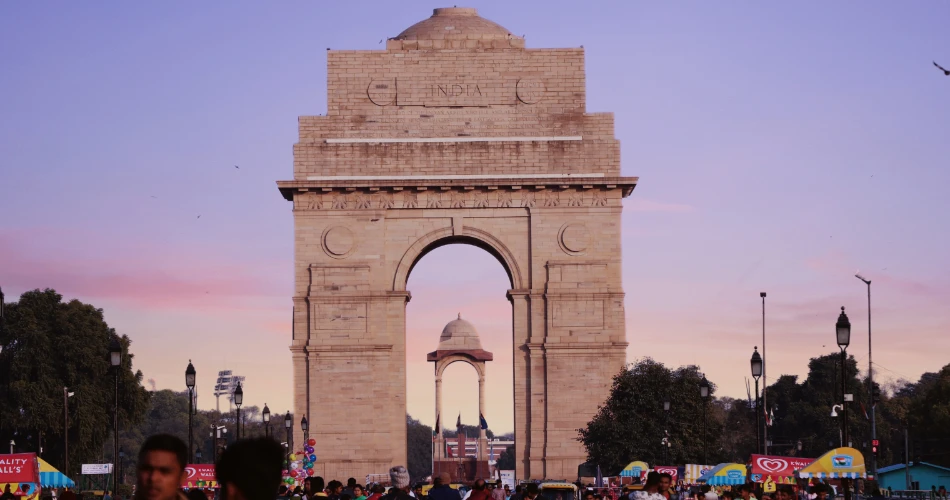
The Gateway of India is more than just stone and arches; it is a living landmark surrounded by vibrant activity. At dawn, joggers, yoga practitioners, and fishermen casting nets provide candid opportunities that reflect the local rhythm of Mumbai mornings. Birds, particularly pigeons, also add movement and life to your frames. These natural elements make your shots feel authentic and lively.
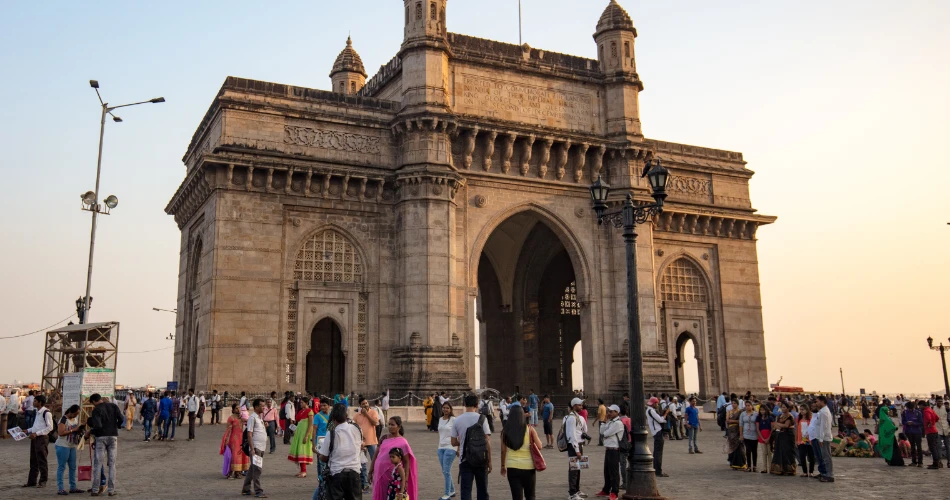
By dusk, the monument becomes a gathering point for tourists, vendors, and families. Street sellers offering snacks, balloon vendors with colorful displays, or families taking selfies all contribute to the story of the Gateway as a cultural hub. Capturing these candid moments allows you to showcase not only the monument but also the people who breathe life into the space.
For storytelling photography, try shooting with a slightly longer focal length to isolate interactions against the backdrop of the Gateway. Pay attention to gestures, colors, and emotions that add narrative depth. Respect people’s privacy when shooting, but don’t be afraid to politely ask for a posed shot if you see an interesting subject.
By blending architecture with human elements, your photographs will go beyond postcards and become visual stories of Mumbai’s energy.
Editing Tips for Gateway of India Shots
Post-processing is where you transform good shots into great ones. For dawn photographs, aim to enhance the soft golden tones without overpowering them. Increase warmth slightly, adjust shadows to reveal monument details, and reduce highlights to maintain natural sky gradients. The goal is to keep the dreamy, serene atmosphere intact.
At dusk, vibrance and contrast adjustments are key. Deepen the oranges, purples, and reds of the sunset while preserving the stone textures of the monument. Using selective adjustments in Lightroom or Photoshop helps highlight the Gateway without making the overall scene look unnatural. If you shoot long exposures, enhance reflections in the water and smooth out noise in low-light shots.
A slight vignette draws focus to the subject, while clarity adjustments can sharpen architectural details. Avoid heavy saturation or extreme HDR effects, as they often make images look unrealistic. For social media, consider cropping to square or vertical orientations for maximum impact. Always keep a backup of your original RAW files so you can revisit edits later with a fresh perspective.

Practical Tips for Photographers Visiting the Gateway
Beyond gear and technique, practical planning ensures a smooth experience. First, arrive early—15–20 minutes before sunrise or sunset—to set up and explore angles. This not only gives you time to secure the best spot but also reduces stress. For evenings, prepare for crowds; using longer exposures can help blur people into soft streaks, keeping focus on the monument.
Keep safety in mind. Mumbai is generally safe, but crowded areas mean you should remain alert, especially with expensive gear. Carry only what you need and use a cross-body camera strap for security. Since the area is coastal, humidity and occasional sea spray can affect lenses—bring microfiber cloths and protective gear.
Respect local rules and cultural practices. Avoid obstructing pathways, and follow any security guidelines around the monument. If you want variety, explore nearby spots such as Colaba Causeway or the Taj Mahal Palace for alternative compositions.
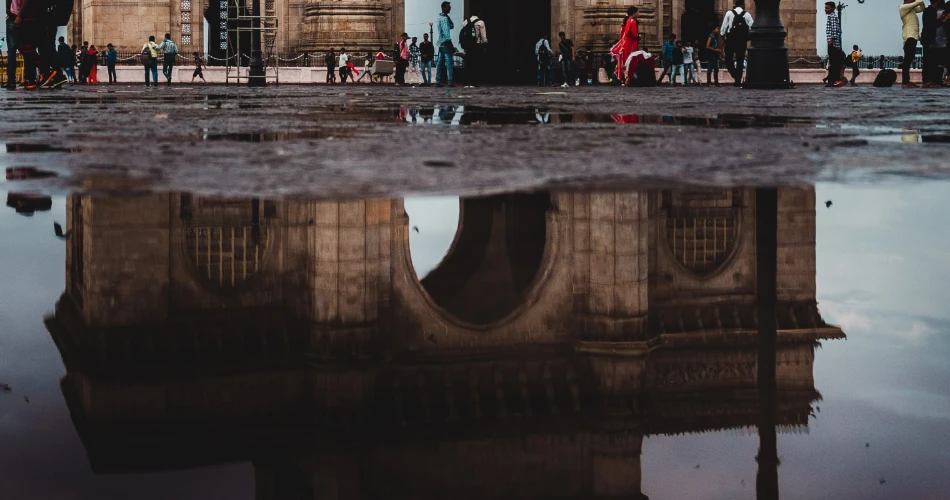
Lastly, experiment! Don’t just stick to traditional front shots—try reflections in puddles, creative street-style angles, or even black-and-white photography for a timeless appeal. By combining preparation with curiosity, you’ll walk away with images that stand out.
Conclusion: Preserving the Magic of Gateway of India
Photographing the Gateway of India at dawn and dusk is more than a technical exercise—it’s an experience of witnessing Mumbai’s soul. The monument reflects not just architectural beauty but also the city’s energy, blending serenity in the morning with vibrance in the evening. By understanding timing, gear, and composition, you unlock the potential to create images that capture both the grandeur of the Gateway and the spirit of the people around it.
Whether you’re a seasoned professional or a beginner experimenting with your camera, this guide equips you to see the monument in new ways. From wide-angle shots glowing in sunrise light to silhouettes against a fiery sunset, each frame holds a unique charm. Every photograph you capture becomes a story—a memory of how Mumbai wakes and rests around its most iconic landmark. So pack your gear, plan your timing, and let the Gateway of India reveal its timeless magic through your lens.